16 Quick and Simple Nail Art Design Looks That Take Minutes
Creating stylish nails doesn’t have to be complicated or time-consuming. With just a few basic tools and a bit of creativity, you can achieve a polished, professional look at home. This simple nail art design is perfect for adding personality to your nails without needing hours of practice or expensive products.
These designs are versatile enough for any occasion, from work to weekend outings or special events. By focusing on easy-to-follow patterns and minimalistic details, you can keep your nails trendy, well-groomed, and effortlessly stylish while saving time and effort. Even beginners can enjoy creative, Instagram-worthy nails with just a few smart techniques.
16 Simple Nail Art Designs You Can Do in Minutes
I’m going to discuss 16 easy and simple nail art design looks that you can create in minutes, perfect for adding a stylish touch to your nails without spending too much time or effort.
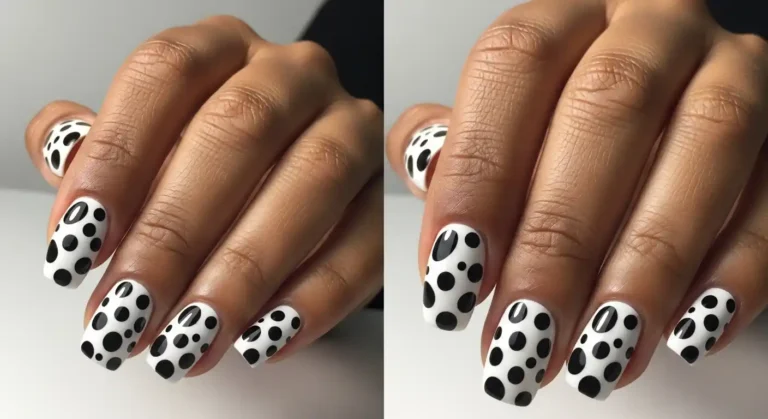
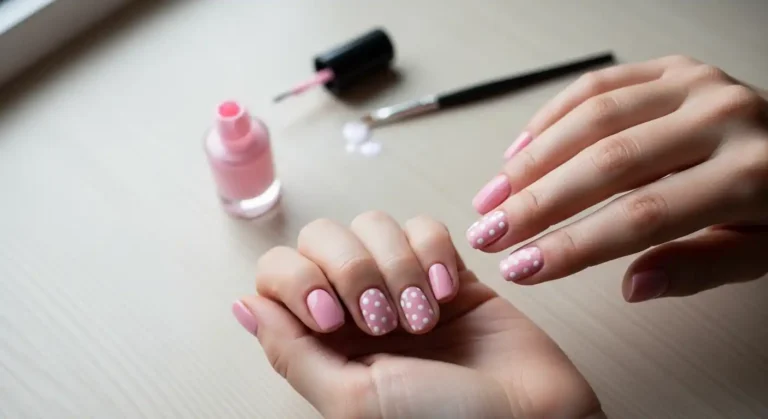
1. Polka Dot Nails
Polka dots are a classic, playful design that can instantly brighten up your manicure. You can create this look using a dotting tool, a toothpick, or even the tip of a bobby pin. Pick a neutral base color and add contrasting dots for a fun yet stylish effect.
This simple polka dot nail design works well on any nail length and allows for endless color combinations. For a modern twist, try alternating dot sizes or placing them asymmetrically across your nails. It’s a quick and beginner-friendly option that always looks chic.
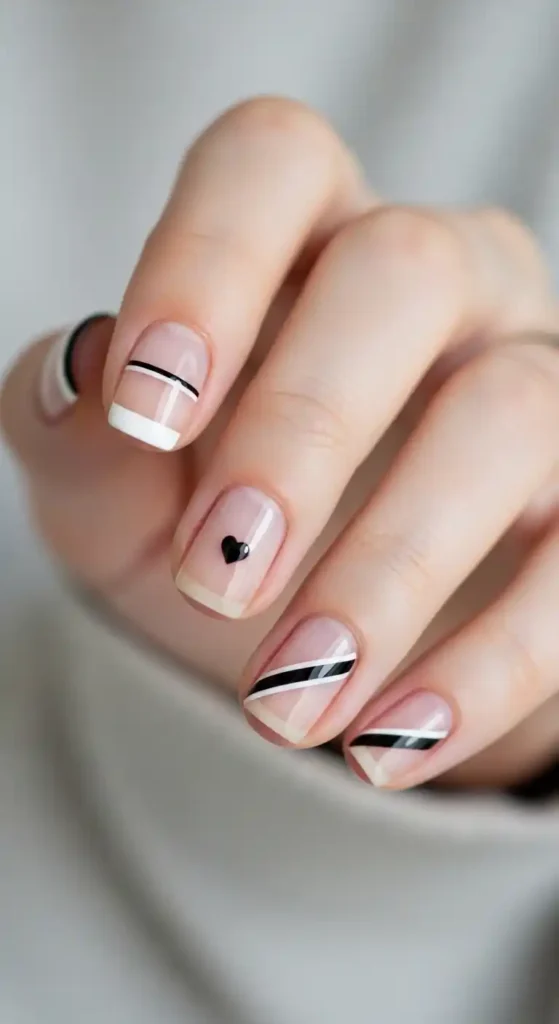
2. Striped Accent Nails
Striped nails add a touch of sophistication without requiring complicated techniques. Use thin nail tape or a steady hand to paint stripes in complementary colors over a neutral base. Vertical or diagonal stripes can elongate the look of your fingers.
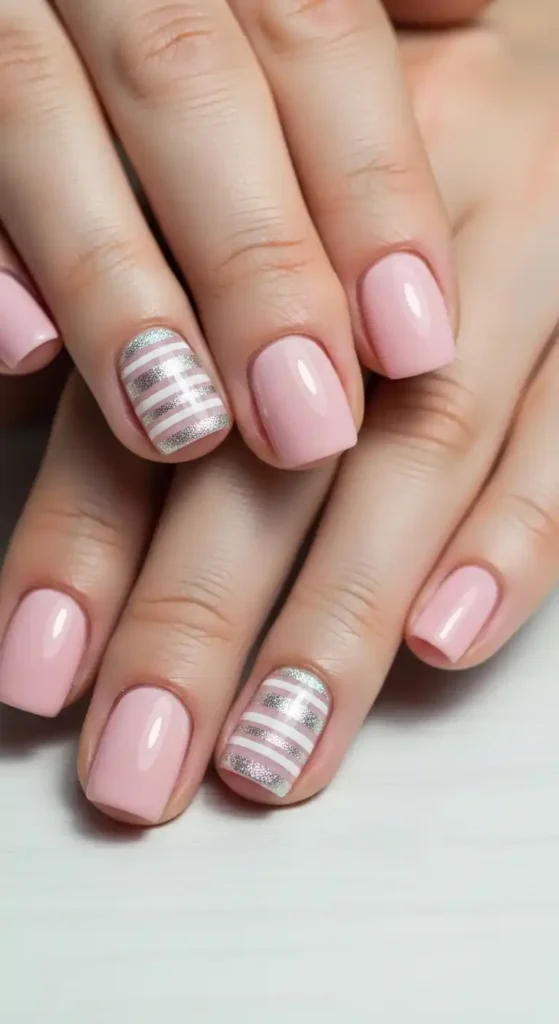
For extra flair, try adding metallic or glitter stripes on one or two accent nails. This design is versatile enough for casual days or formal events, and it only takes a few minutes to create a polished finish.
3. Ombre Fade Nails
Ombre nails create a beautiful gradient effect that looks professionally done. Use a makeup sponge to blend two or more colors, from light to dark or across complementary shades.
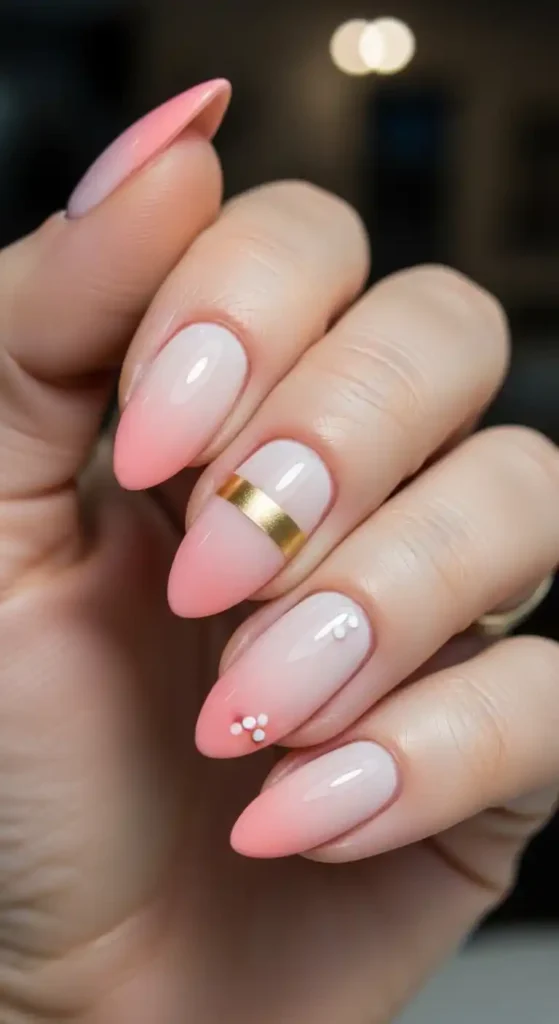
This look is perfect for beginners because imperfections blend naturally into the gradient. Choose soft pastels for a delicate appearance or bold colors for a striking effect. It’s a quick way to give your nails a trendy makeover.
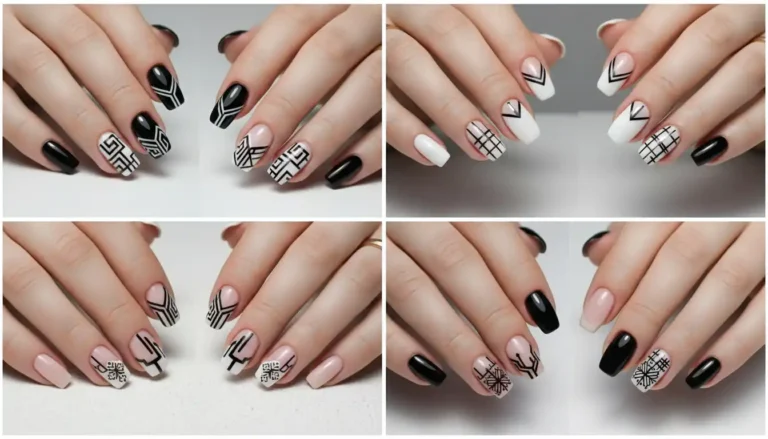
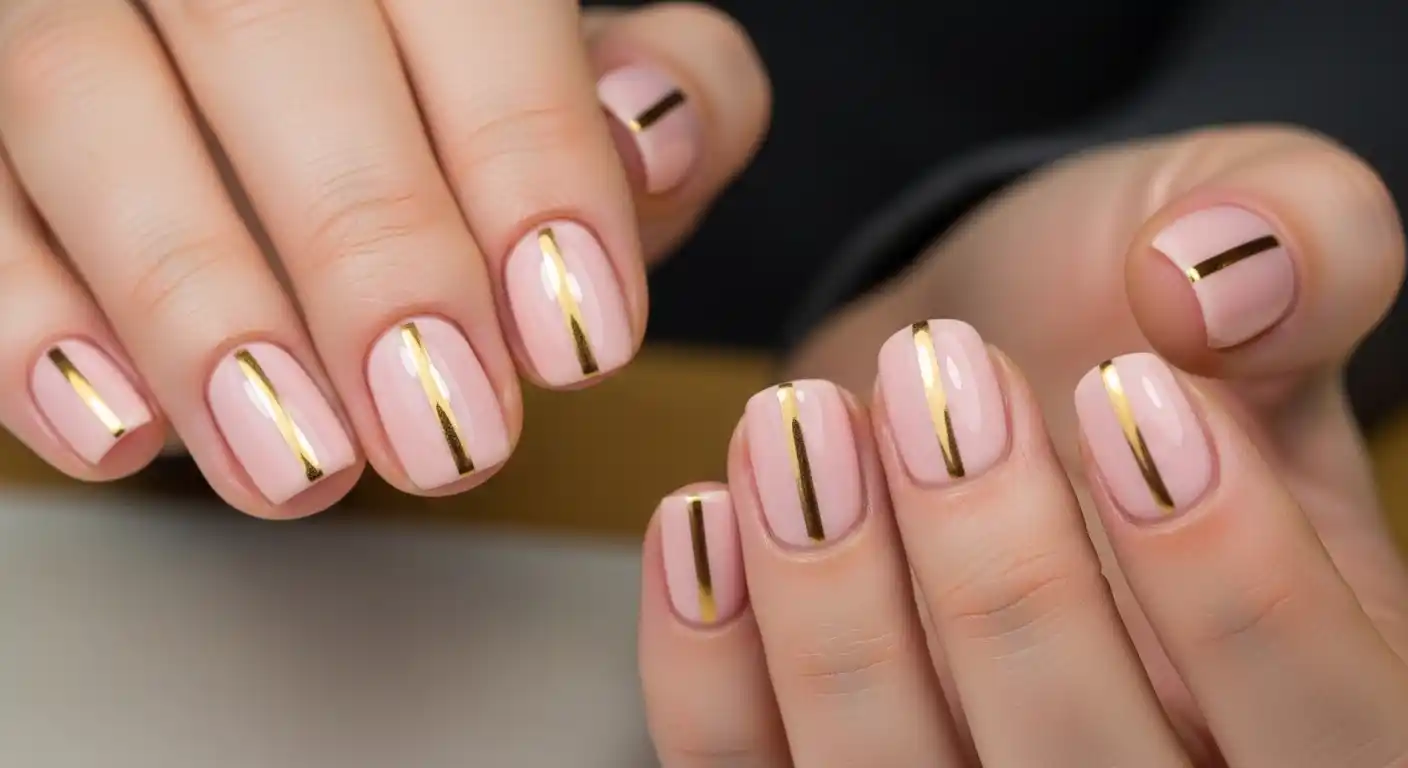
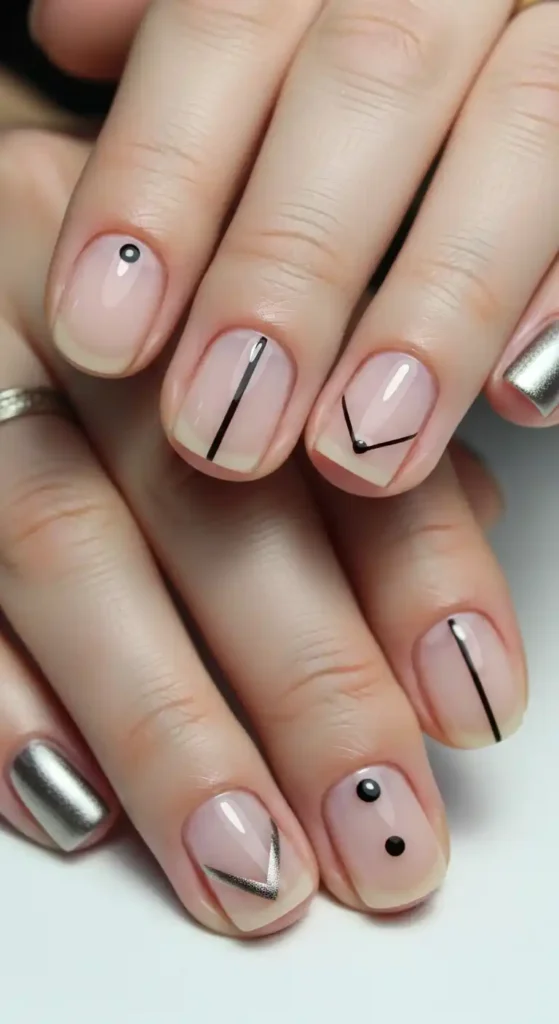
4. Minimal Line Art
Minimal line art nails are all about subtle sophistication. Draw simple lines, shapes, or geometric patterns with a thin nail brush over a neutral base for an understated look.
This design works well for those who prefer a modern, clean aesthetic. You can experiment with vertical, horizontal, or diagonal lines to create unique patterns that suit your style, all in minutes.
5. Glitter Tip Nails
Add sparkle with glitter tips instead of a full glitter manicure. Apply a nude or pastel base and dab glitter along the edges of your nails using a small brush or sponge.
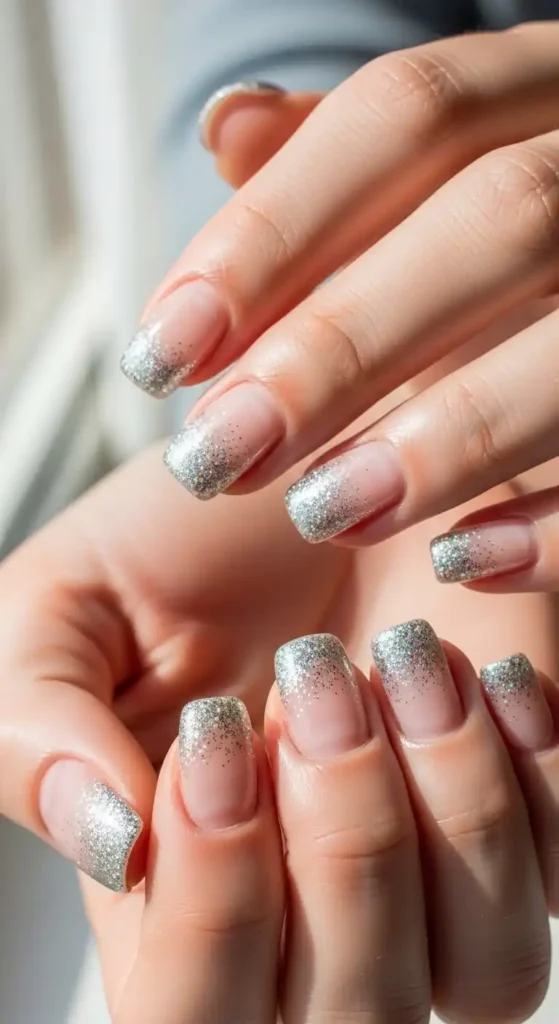
This design is perfect for adding a glamorous touch without being too overwhelming. It’s quick to do, easy to clean up, and perfect for parties or casual wear.
6. French Twist Nails
Give the classic French manicure a modern twist by using bright colors, glitter, or contrasting shades for the tips. You can use nail guides or freehand your design for a fresh look.
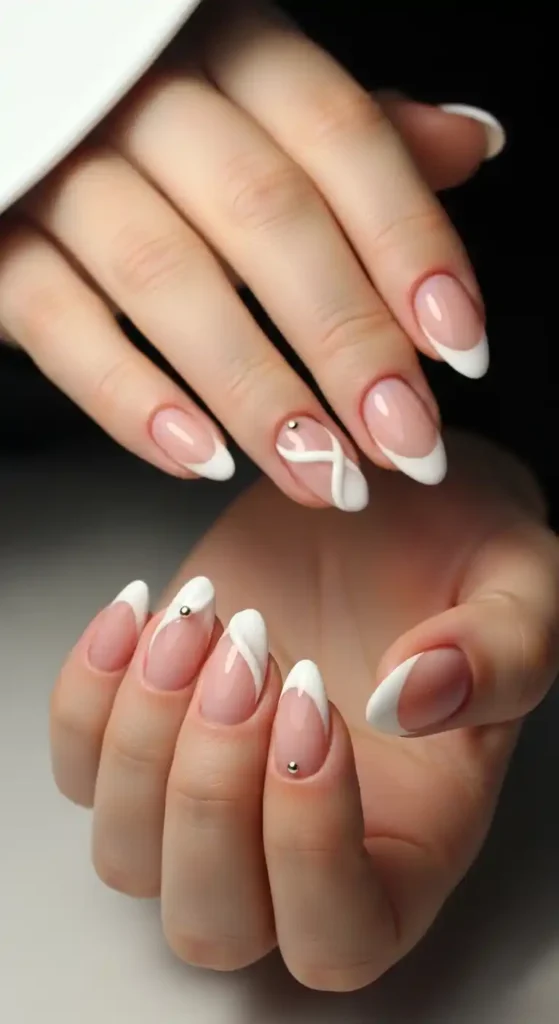
This design is elegant and works on all nail lengths. Experiment with bold tips or soft pastel colors to suit your mood, making it a versatile option for everyday or special occasions.
7. Heart Accent Nails
Heart-shaped designs add a cute and romantic vibe to your manicure. Use a dotting tool to create small hearts on one or two accent nails while keeping the rest simple.
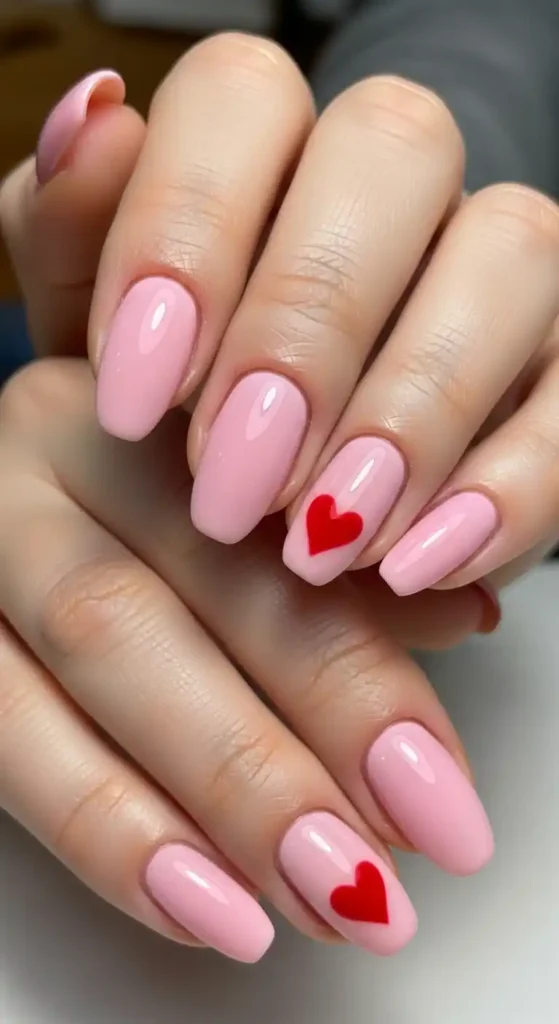
This is ideal for themed events like Valentine’s Day or just to add playful charm. You can mix colors and sizes of hearts to personalize the look, and it only takes a few minutes to achieve.
8. Negative Space Nails
Negative space nails use parts of your natural nail as part of the design. Paint shapes, stripes, or geometric patterns while leaving some areas unpainted for a modern effect.
This design is minimal yet eye-catching, perfect for a clean and stylish manicure. It works well with any color palette and can easily be adapted for quick nail art sessions.
9. Marble Effect Nails
Create a sophisticated marble effect using two or three complementary colors. Apply polish in small drops and swirl them with a toothpick or a fine brush to mimic natural marble patterns.
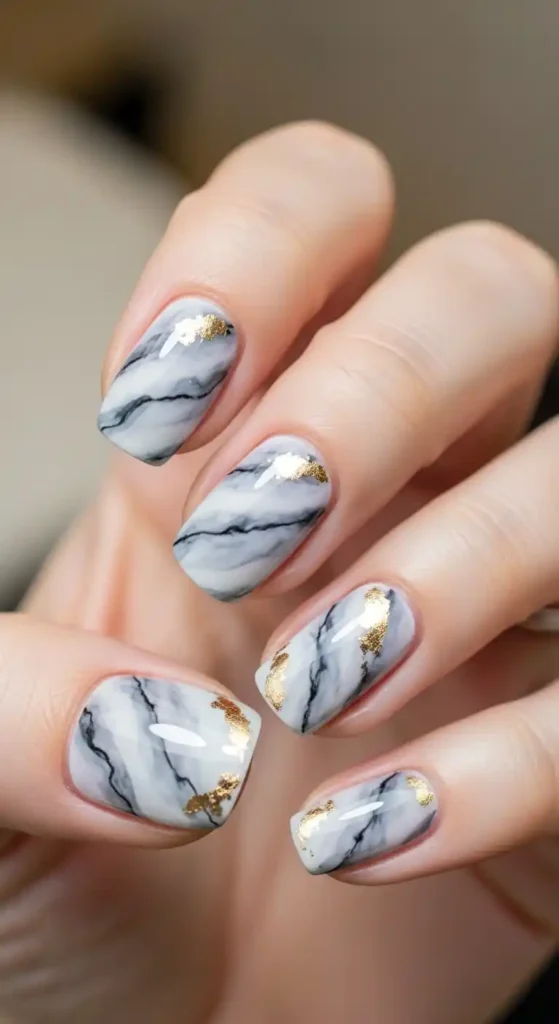
This design is surprisingly easy and gives a luxurious, professional look. Use white with black or pastel shades for a soft effect; it’s perfect for beginners looking for an elegant finish.
10. Polished Dot and Line Combo
Combine dots and lines for a trendy, modern design. Use thin brushes or dotting tools to create patterns on one or two accent nails while keeping the others solid.
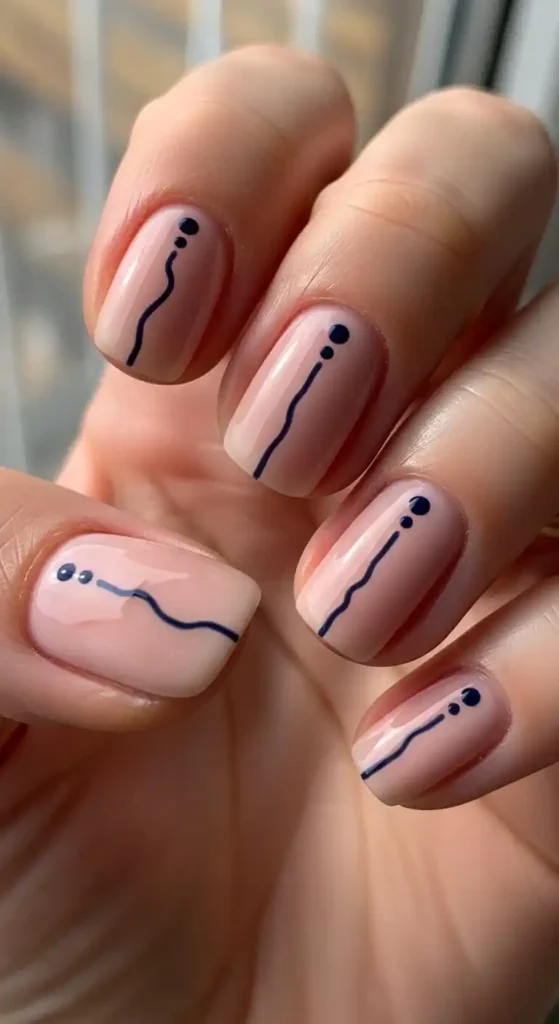
This style adds depth and interest without feeling too busy. You can play with color contrasts or stick to neutrals for a minimalist approach that’s fast and stylish.
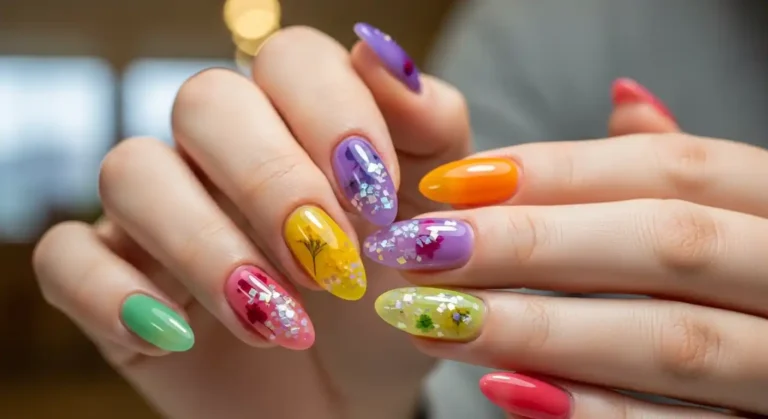
11. Floral Accent Nails
Tiny floral designs are a delicate way to add charm to your nails. Use a fine brush or a toothpick to paint small flowers on one or two accent nails.
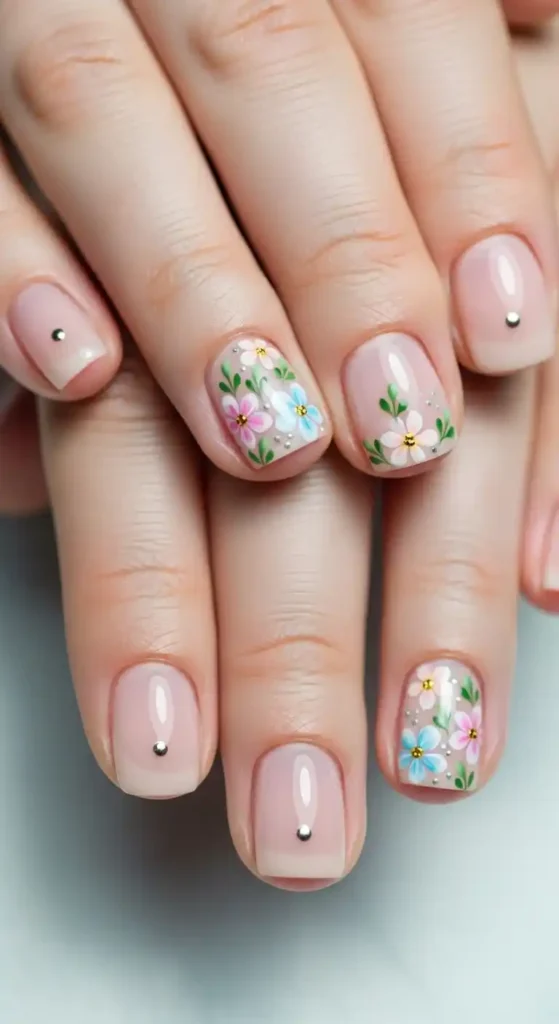
This design pairs beautifully with pastel or nude bases and works for spring, summer, or any cheerful occasion. The simplicity makes it a quick nail art solution without losing style.
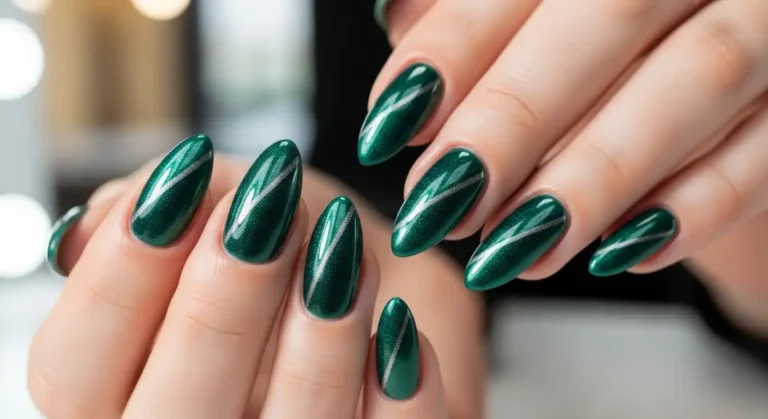
12. Matte Finish Nails
Switch up your usual shiny manicure with a matte finish. Apply matte topcoat over any color for a soft, modern look that feels unique.
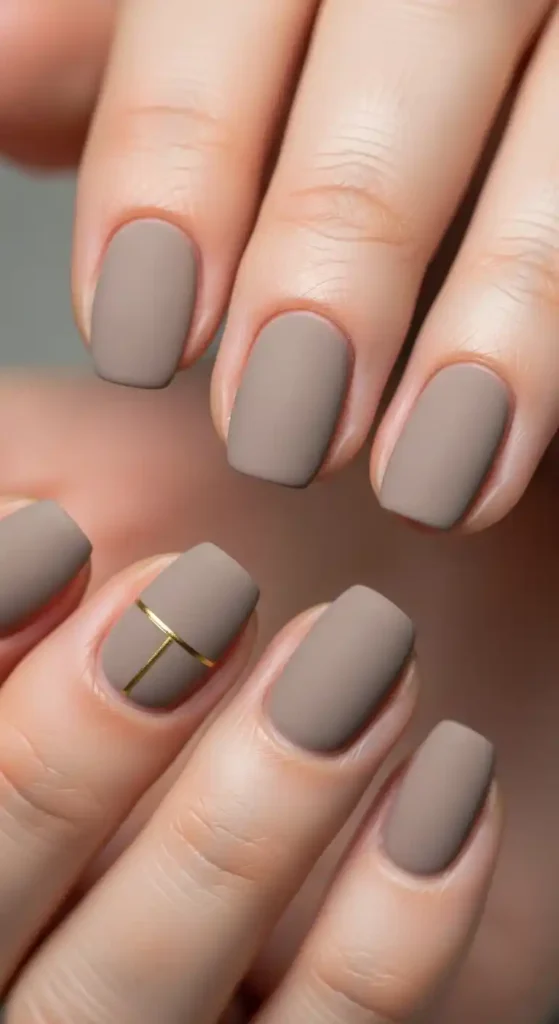
You can combine matte nails with glossy accents, stripes, or dots for a stylish contrast. This design is effortless yet gives your nails a trendy edge without complex techniques.
13. Geometric Shapes
Triangles, squares, and abstract shapes create an edgy and modern look. Use tape or a thin brush to paint shapes over a neutral or bold base.
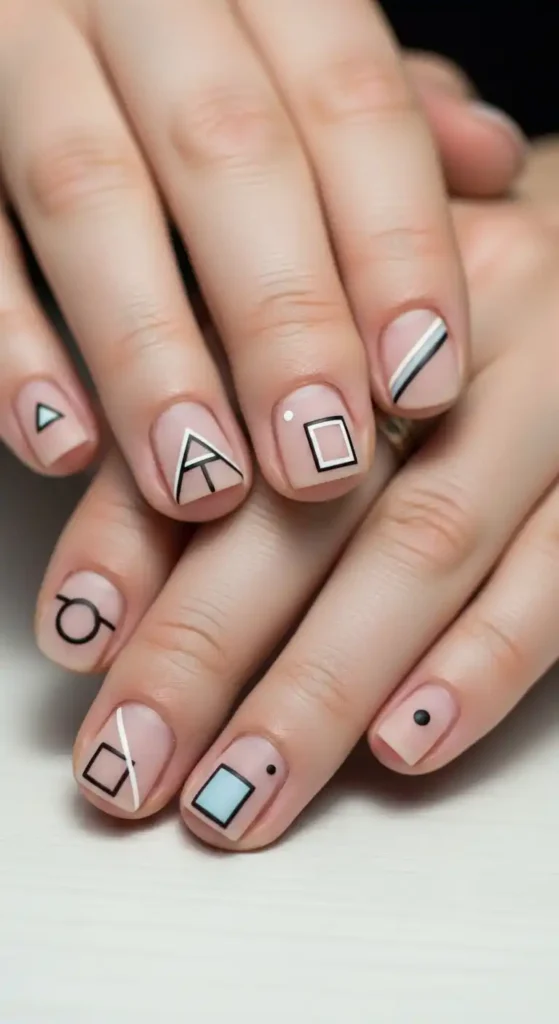
This design is perfect for those who like clean lines and contemporary aesthetics. It’s quick to do, looks professional, and allows a lot of creativity with colors and patterns.
14. Polished Animal Print
Add a fun vibe with minimal animal prints like leopard or zebra accents. Paint one or two nails with tiny spots or stripes over a neutral background.
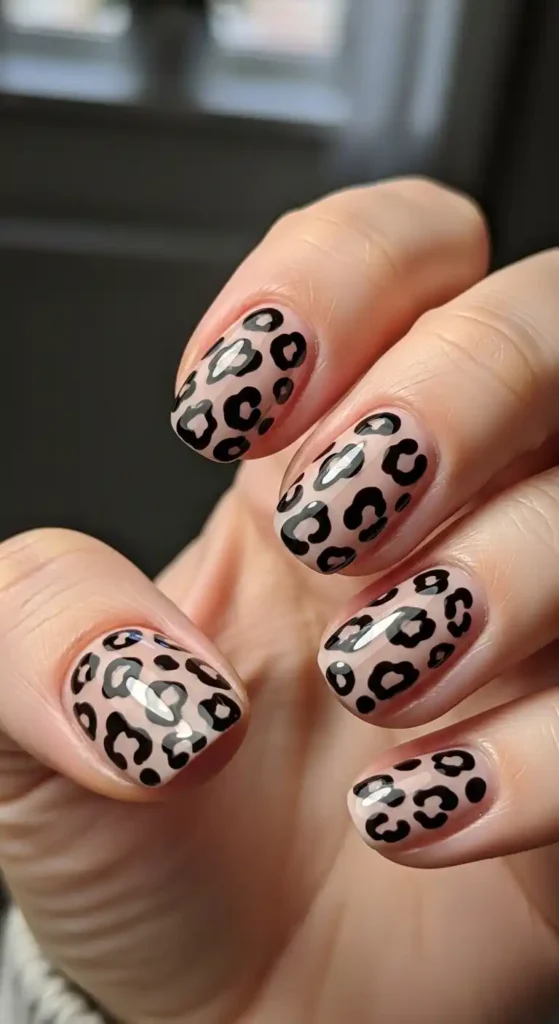
This style is playful yet chic when done subtly. You can choose classic black and brown or experiment with colorful combinations to create a quick, trendy manicure.
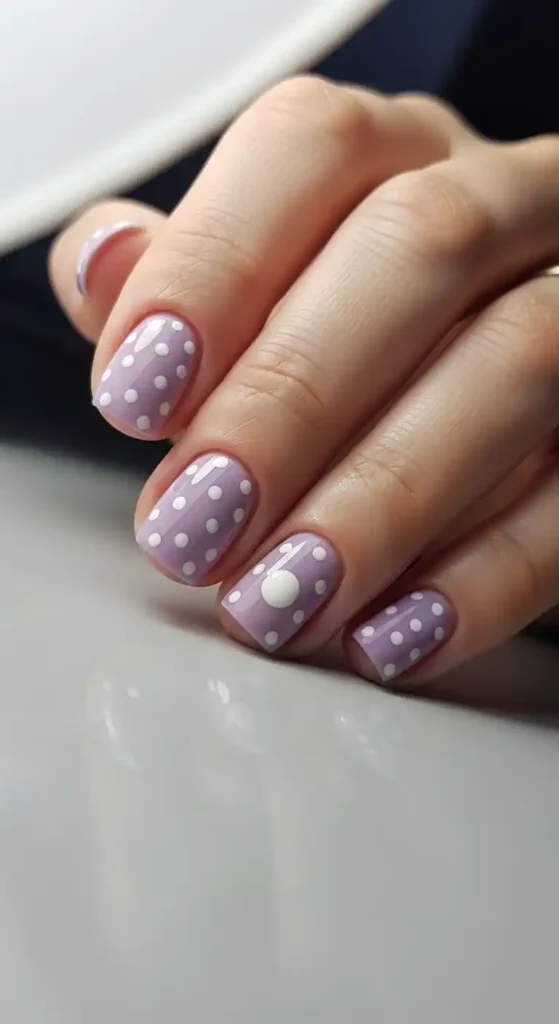
15. Minimal Gradient Dots
Create a dotted gradient effect starting from the cuticle to the tip. Use small dots in varying shades of the same color for a subtle ombre effect.
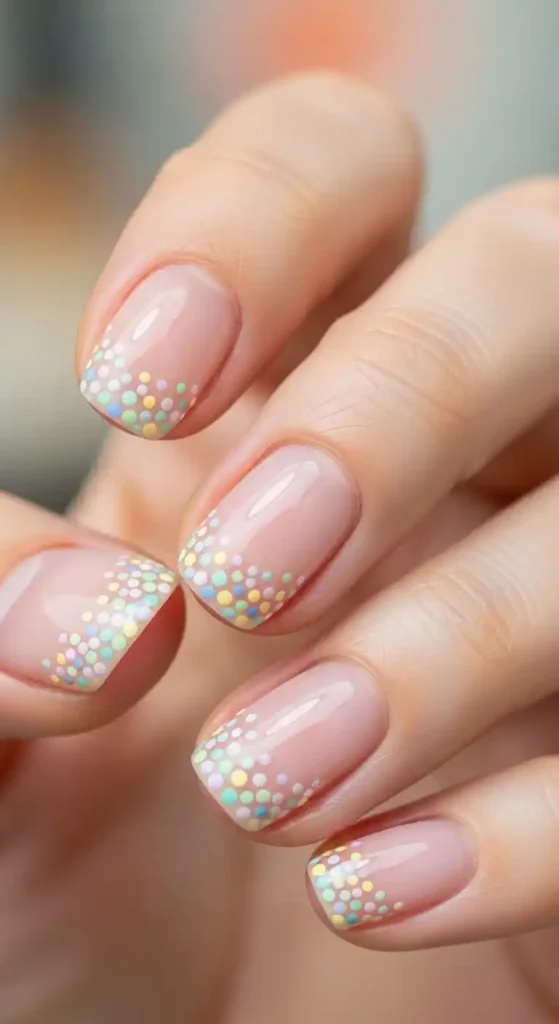
This design is simple, elegant, and perfect for everyday wear. It’s easy to execute with a dotting tool and allows you to experiment with color blending in a short time.
16. Single Accent Nail
Sometimes less is more. Paint all nails in a solid color and decorate just one accent nail with glitter, stripes, or tiny motifs.
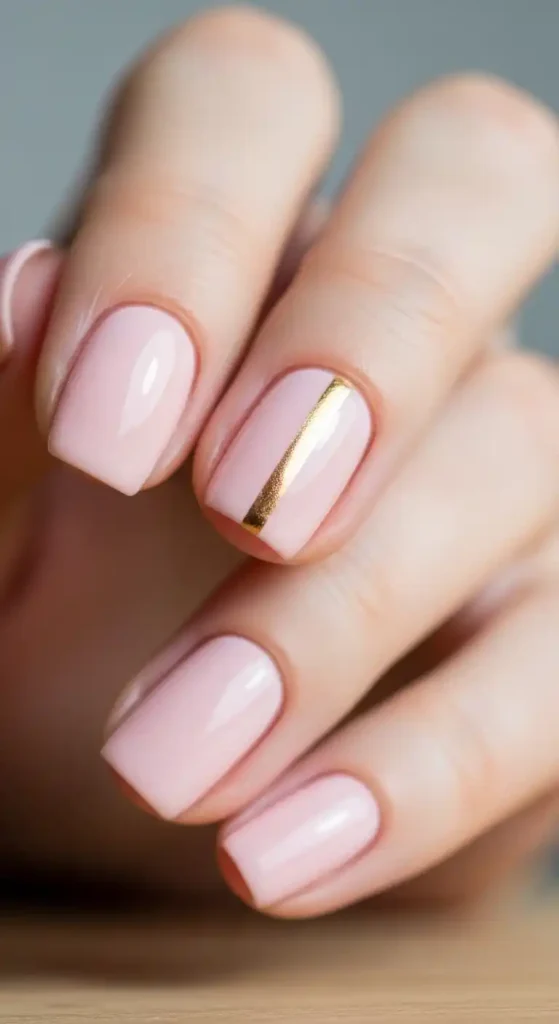
This design is fast and requires minimal effort while still adding interest. It’s perfect for beginners who want stylish nails without spending too much time on complicated designs.
Tools You Need for Simple Nail Art Design Looks
Creating stunning nail art doesn’t require a huge collection of tools; just a few essentials can make a big difference, especially for Beginner Nail Designs.
- Some must-have items include a dotting tool for creating perfect dots and tiny designs, thin nail brushes for lines and shapes, and nail tapes or stencils for clean geometric patterns.
- A makeup sponge is also useful for gradient or ombre effects, while a nail file and buffer ensure smooth, even nails for a polished finish.
- In addition to these tools, investing in a good base coat and topcoat can protect your nails and make your designs last longer.
- Simple household items like toothpicks or bobby pins can double as creative tools for small details, making it easy for beginners to experiment.
- With these tools at hand, even quick and simple nail art looks can look professional and stylish in just a few minutes.
Easy Tips for Long-Lasting Nail Art Designs
Beautiful nail art can instantly enhance your overall look, but keeping it fresh and chip-free for days can be challenging. With the right techniques and a little extra care, you can make your nail art designs last much longer. Below are some easy and practical tips to help you maintain long-lasting nail art.
- Always start with clean, oil-free nails by removing old polish and gently pushing back cuticles so the nail art adheres properly and lasts longer without lifting.
- Apply a high-quality base coat before your nail polish to create a smooth surface and protect your natural nails while improving the durability of your design.
- Use thin layers of nail polish instead of thick coats, allowing each layer to dry completely to prevent smudging, bubbling, and early chipping.
- Seal your design with a strong top coat and reapply it every two to three days to maintain shine and add an extra protective barrier.
- Avoid exposing your nails to excessive water and harsh chemicals by wearing gloves while washing dishes or cleaning to prevent peeling and fading.
Conclusion
Creating simple nail art design looks doesn’t have to be time-consuming or complicated. With just a few basic tools, a bit of creativity, and these quick techniques, you can achieve stylish, professional-looking nails in minutes.
From playful polka dots and minimal line art to elegant ombre and marble effects, these designs allow you to express your personality while keeping your manicure fresh and trendy. By following easy application tips and maintaining your nails with a good base and topcoat, you can enjoy long-lasting, eye-catching nail art without spending hours at the salon.